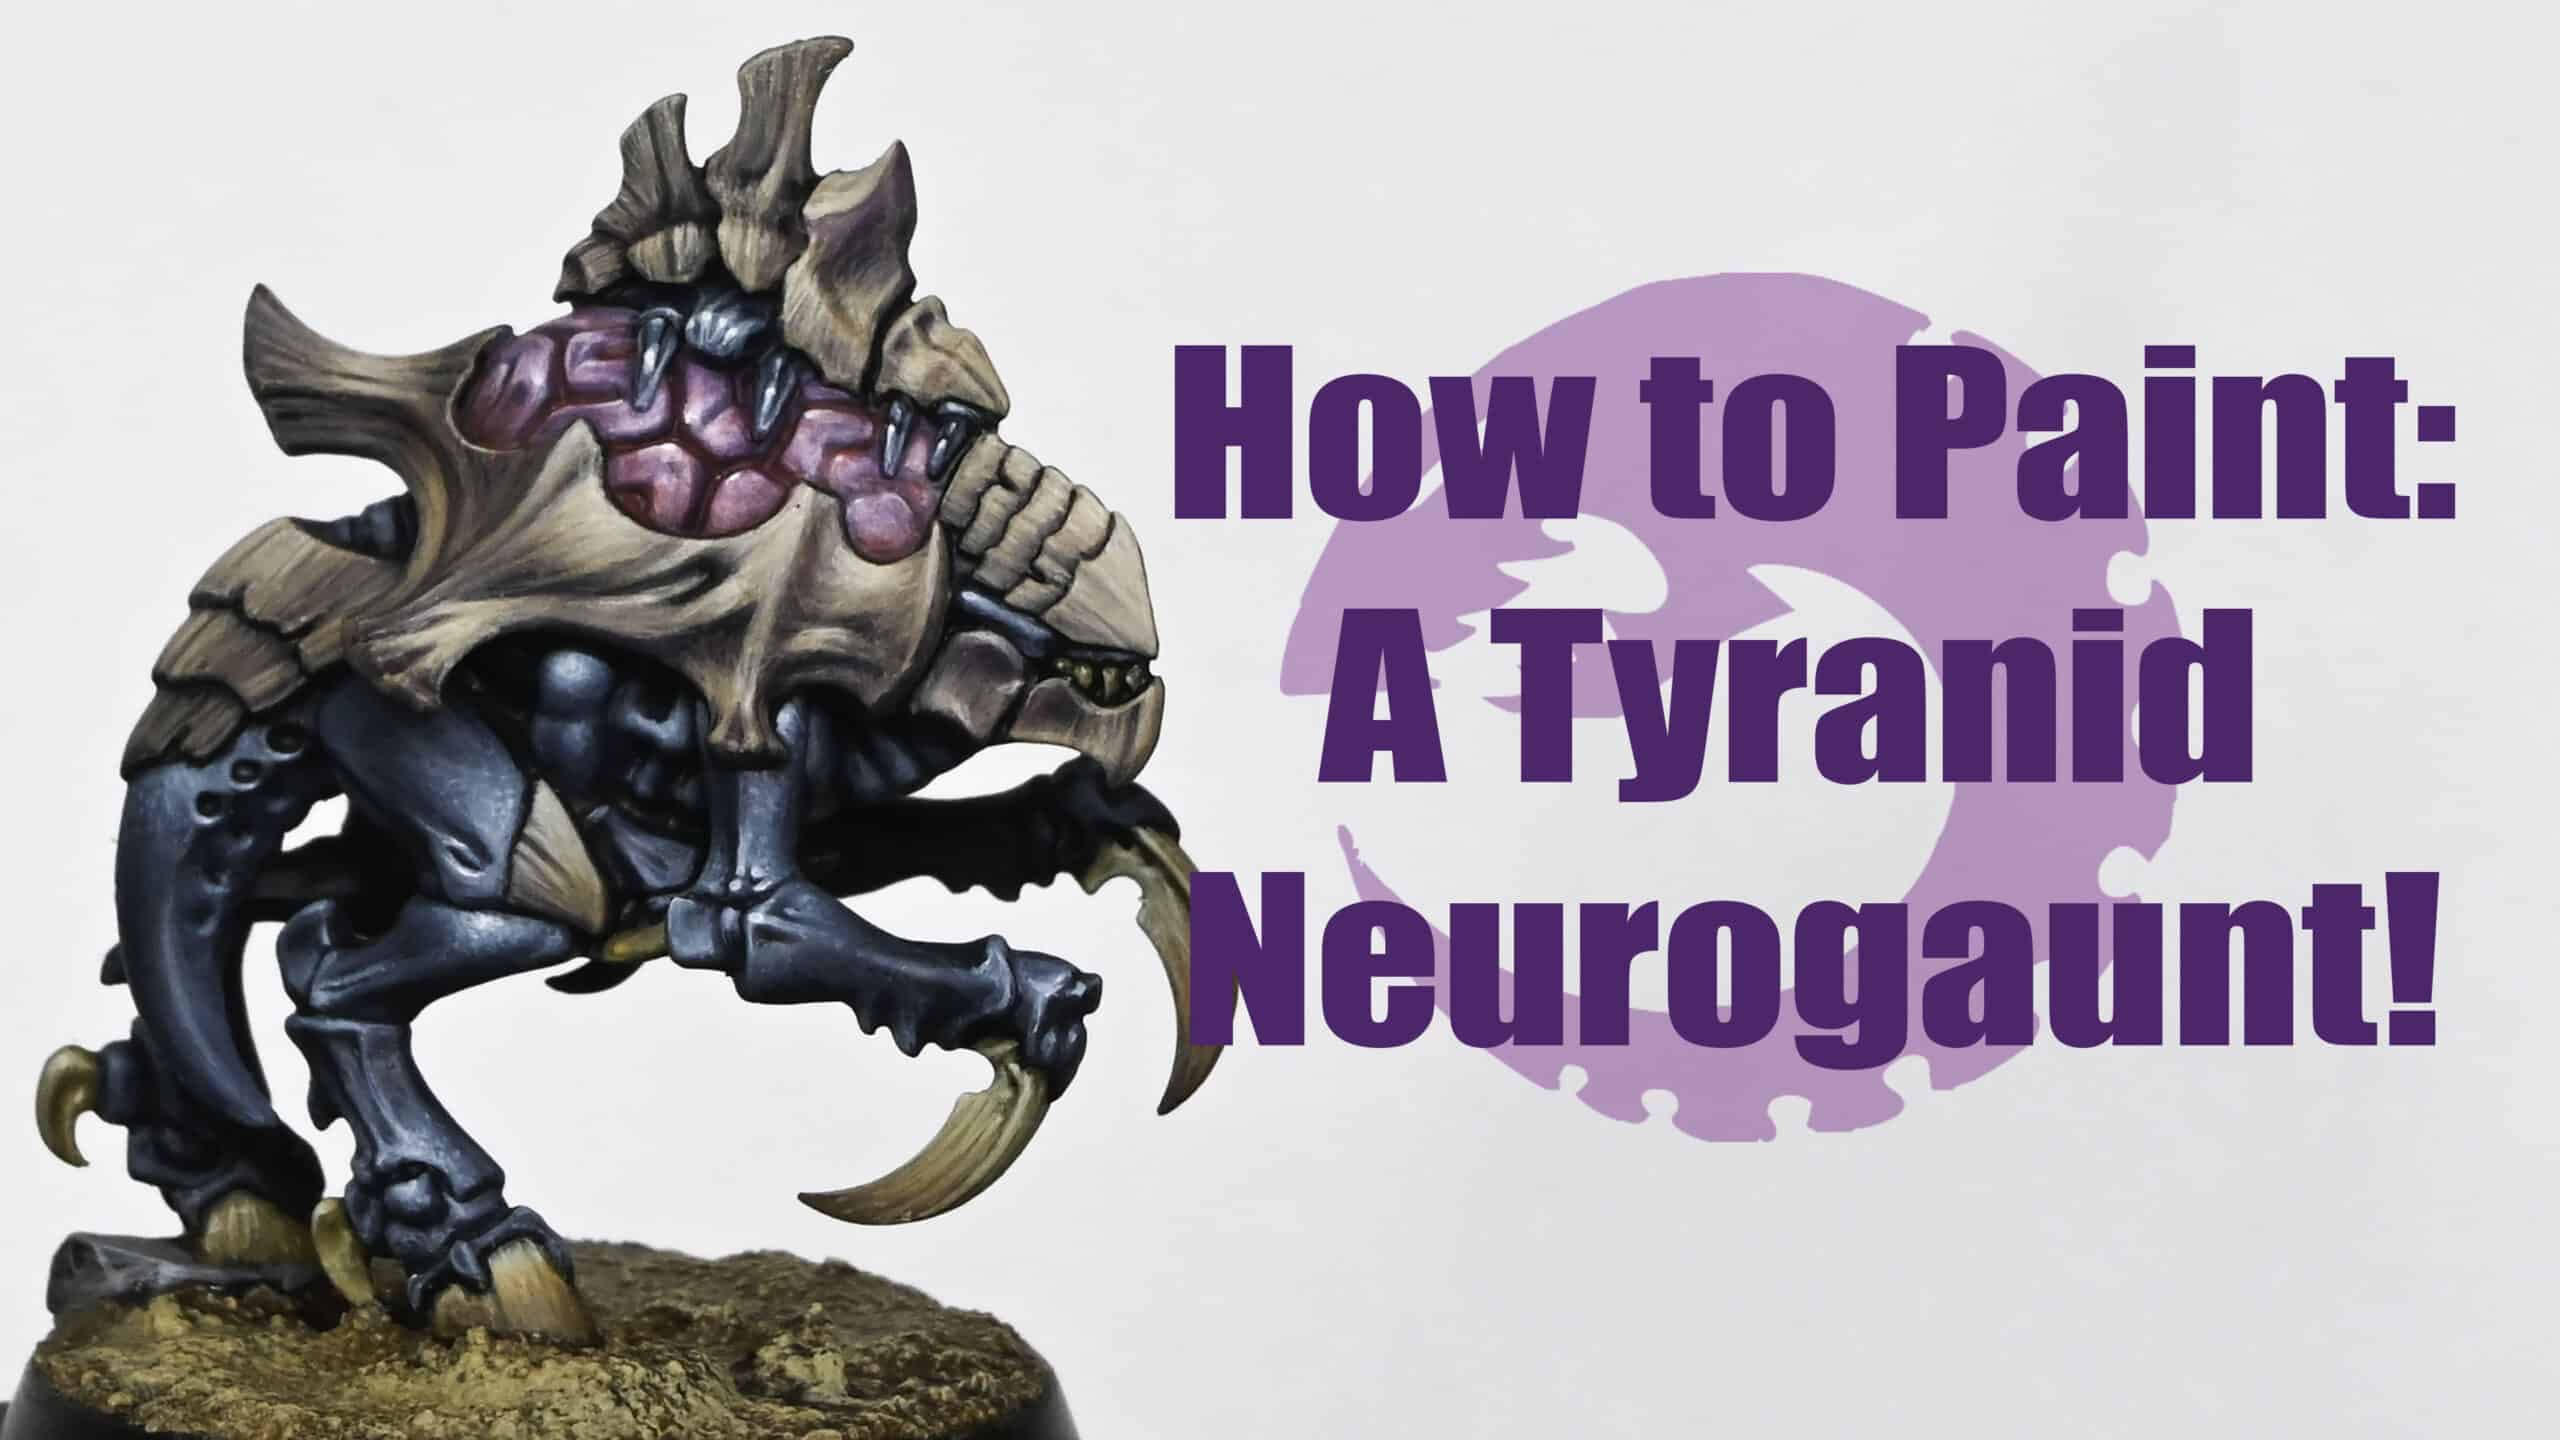
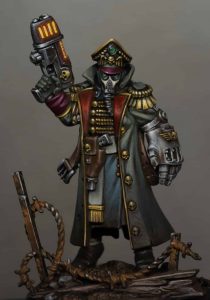
This video shows how to paint a Tyranid Neurogaunt Nodebeast. The model was sent to me as an early review copy by Games Workshop.
The following paints were used:
Games Workshop: Sotek Green, Xereus Purple, Fire Dragon Bright, Ushabti Bone, XV-88, Balor Brown, Rhinox Hide, Mournfang Brown, Emperor’s Children, Mephiston Red
Step-by-Step Guide on How to Paint a Tyranid Neurogaunt:
- Base Preparation: As it is push-fit, be mindful of gaps that may need filling on your Tyranid Neurogaunt Nodebeast. For a gap filling guide, go here.
- Base Coating Carapace: Start with a mixture of Xereus Purple and a small amount of Fire Dragon Bright. Apply this to the carapace or exoskeleton parts. Gradually add more Fire Dragon Bright to the mix for subsequent lighter layers.
- Inkubi Darkness Layers: Apply Incubi Darkness as a base for darker areas, adding white for transitions. You may need multiple coats for opacity.
- Purple and Pink Mixtures: Mix Xereus Purple with Emperor’s Children, gradually increasing the Emperor’s Children portion for lighter shades. Top layers can be pure Emperor’s Children, with white added for highlights.
- Painting the Brain: Use the purple and pink mixture for the brain area, applying multiple coats for coverage. A large brush can be useful for quick coverage.
- Skin Areas: Start with Sotek Green, adding white for highlights. Stipple effect can be applied for texture.
- Highlighting Carapace: Use a small brush for finer lines and texture on the carapace. As you highlight, focus on the areas where light naturally hits.
- Adding Shabti Bone Highlights: Carefully apply Shabti Bone to the brightest areas of the carapace for intense highlights.
- Mephiston Red Glazing: Glaze around the brain with heavily watered-down Mephiston Red to add depth and contrast.
- Detailing Claws and Hooves: Start with XV-88, layering with Balor Brown and more Gas Bone or Ushabti Bone for highlights. Focus on texture and highlight towards the tips.
- Final Adjustments: Add final highlights and adjustments to the carapace and skin. Pay attention to the light flow and texture contrast.
- Base Finishing: The base can be simple – cover with sand, PVA glue, and apply a wash of Skeleton Horde Contrast Paint, followed by dry brushing with a matching colour from the model.
Note: The painting process involves creating a balance between colour and light. Different sections of the Tyranid Neurogaunt can be highlighted to different extents based on how light naturally interacts with the model. Texture plays a crucial role in adding depth and interest to the Tyranid Neurogaunt, from the shiny smooth brain to the mottled, bone like rougher carapace, so don’t be afraid to try and experiment a bit.
Explore more of my latest tutorials
If you don’t have an account, please sign up here! The website currently has over 350 video tutorials with steps and tips, plus a selection of PDFs. If you are not sure about joining, you can explore my free videos with a free membership, or take the plunge and become a full subscriber for full access.
If you’d prefer to support me on Patreon, please visit: https://www.patreon.com/RichardGray


