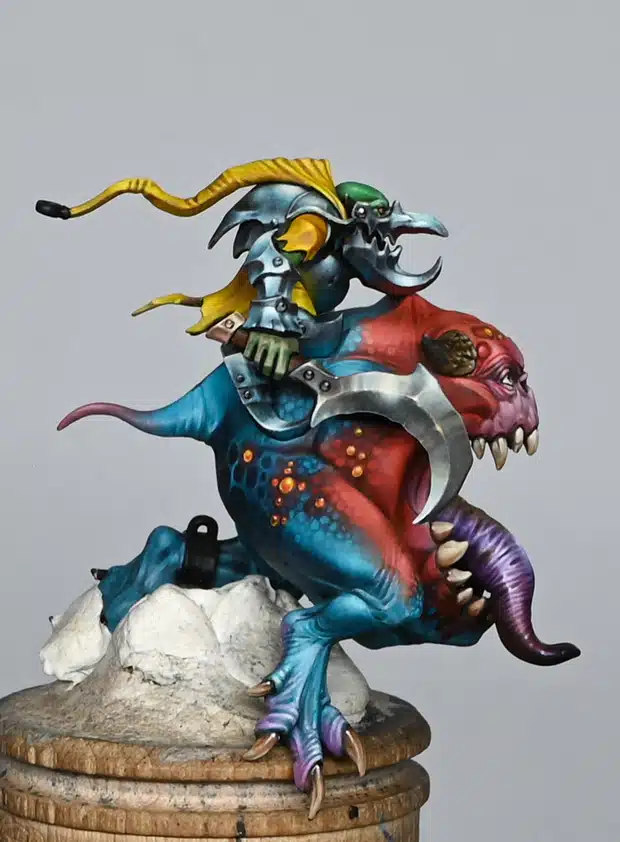
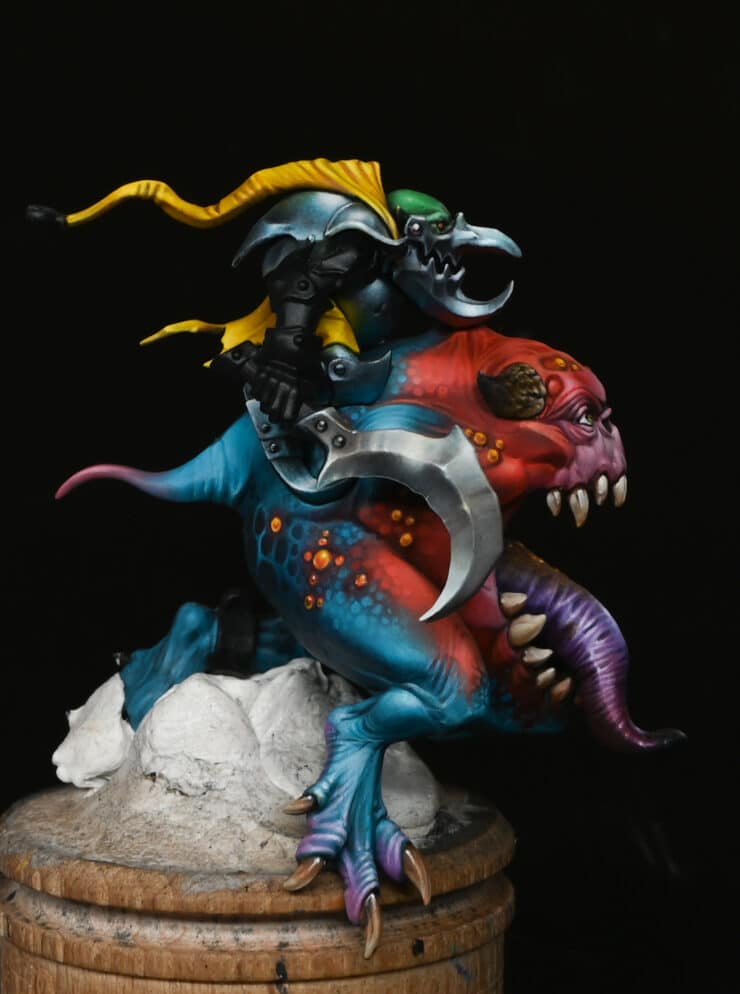
A video tutorial and step by step guide on how I painted the Loonboss NMM Sickle (non-metallic metal) for the Loonboss on his Giant Cave Squig. Read on to watch and follow the steps, along with a full paints list.
Video : Loonboss NMM Sickle
Materials Needed
Paints
- Vallejo Paints
- German Grey
- Neutral Grey
- Dark Blue Pale
- Ice Yellow
- Games Workshop Paints
- Mournfang Brown
- Abaddon Black
- P3 Paints
- Morrow White
Brushes
- Artis Opus Size 00 brush, slightly worn for a softer tip. The worn tip is preferred for certain techniques like stippling and creating softer marks.
Additional Materials
- Wet Palette: Essential for mixing and maintaining the consistency of paints, especially when working with thin glazes and subtle colour transitions.
- Water: For thinning paints, especially for glazing techniques. The video mentions using a ratio of about 5-6 parts water to 1 part paint for glazes.
Step-by-Step Guide
- Initial Blocking of Colours:
- Start by blocking in a few grey colours on the sickle. Use Vallejo’s German Grey as the first colour, then transition to Neutral Grey. This stage is about establishing the basic shape and light direction of the sickle.
- Considering the Angle:
- Remember to consider how the Loonboss will hold the sickle. The angle of the sickle will impact the position of the reflections. The brightest highlight point should be at the top curve of the sickle.
- Detailing the Surface:
- Pay attention to the texture of the sickle. It should appear chunky and uneven, typical of goblin craftsmanship. Use the undulations on the blade’s surface to add interest and realism.
- Mixing Colours on the Wet Palette:
- Prepare a wet palette with a range of colours. Include variations of grey, both warm and cool tones. For instance, mix German Grey with Neutral Grey in different proportions. Also include Dark Blue Pale (a greenish-blue tone), Ice Yellow, and White. These colours will be used for creating various shades and highlights.
- Creating Highlights and Texture:
- Work on the shine points using a stippling effect. This technique helps create softer edges for the highlights, making the blending process easier. Gradually refine these highlights to make them smoother and cleaner.
- Refining with Glazes:
- Begin glazing with Mournfang Brown, watered down significantly (about 5-6 parts water to 1 part paint). This adds subtle colour and helps blend different tones together. It also imparts a slightly rusty look without adding texture.
- Adding Details and Final Highlights:
- Continue to add finer details and highlights using the prepared paints. Focus on the sharp edge of the sickle, adding subtle reflections. Use a combination of Abaddon Black and Morrow White for the final highlights and shadows.
- Final Touches:
- Keep refining the sickle, focusing on smoothing out transitions and ensuring the contrast between light and dark areas is pronounced. This step might require going back and forth between different shades to achieve a highly polished look suitable for a Golden Demon entry.
- Completion and Evaluation:
- Once satisfied with the look, evaluate the sickle in context with the rest of the model. Ensure it stands out, yet integrates well with the overall colour scheme and theme of the Loonboss.
Loonboss on Giant Cave Squig – All Tutorials
To explore all of my tutorials for this model, go here!

Loonboss on Giant Cave Squig – Golden Demon Entry
The Squig needed a Knight, so here’s my shiny NMM fellow, with tips on the banner, woodgrain, NMM and more.
If you don’t have an account, please sign up here! The website currently has over 350 video tutorials with steps and tips, plus a selection of PDFs. If you are not sure about joining, you can explore my free videos with a free membership, or take the plunge and become a full subscriber for full access.
If you’d prefer to support me on Patreon, please visit: https://www.patreon.com/RichardGray


