


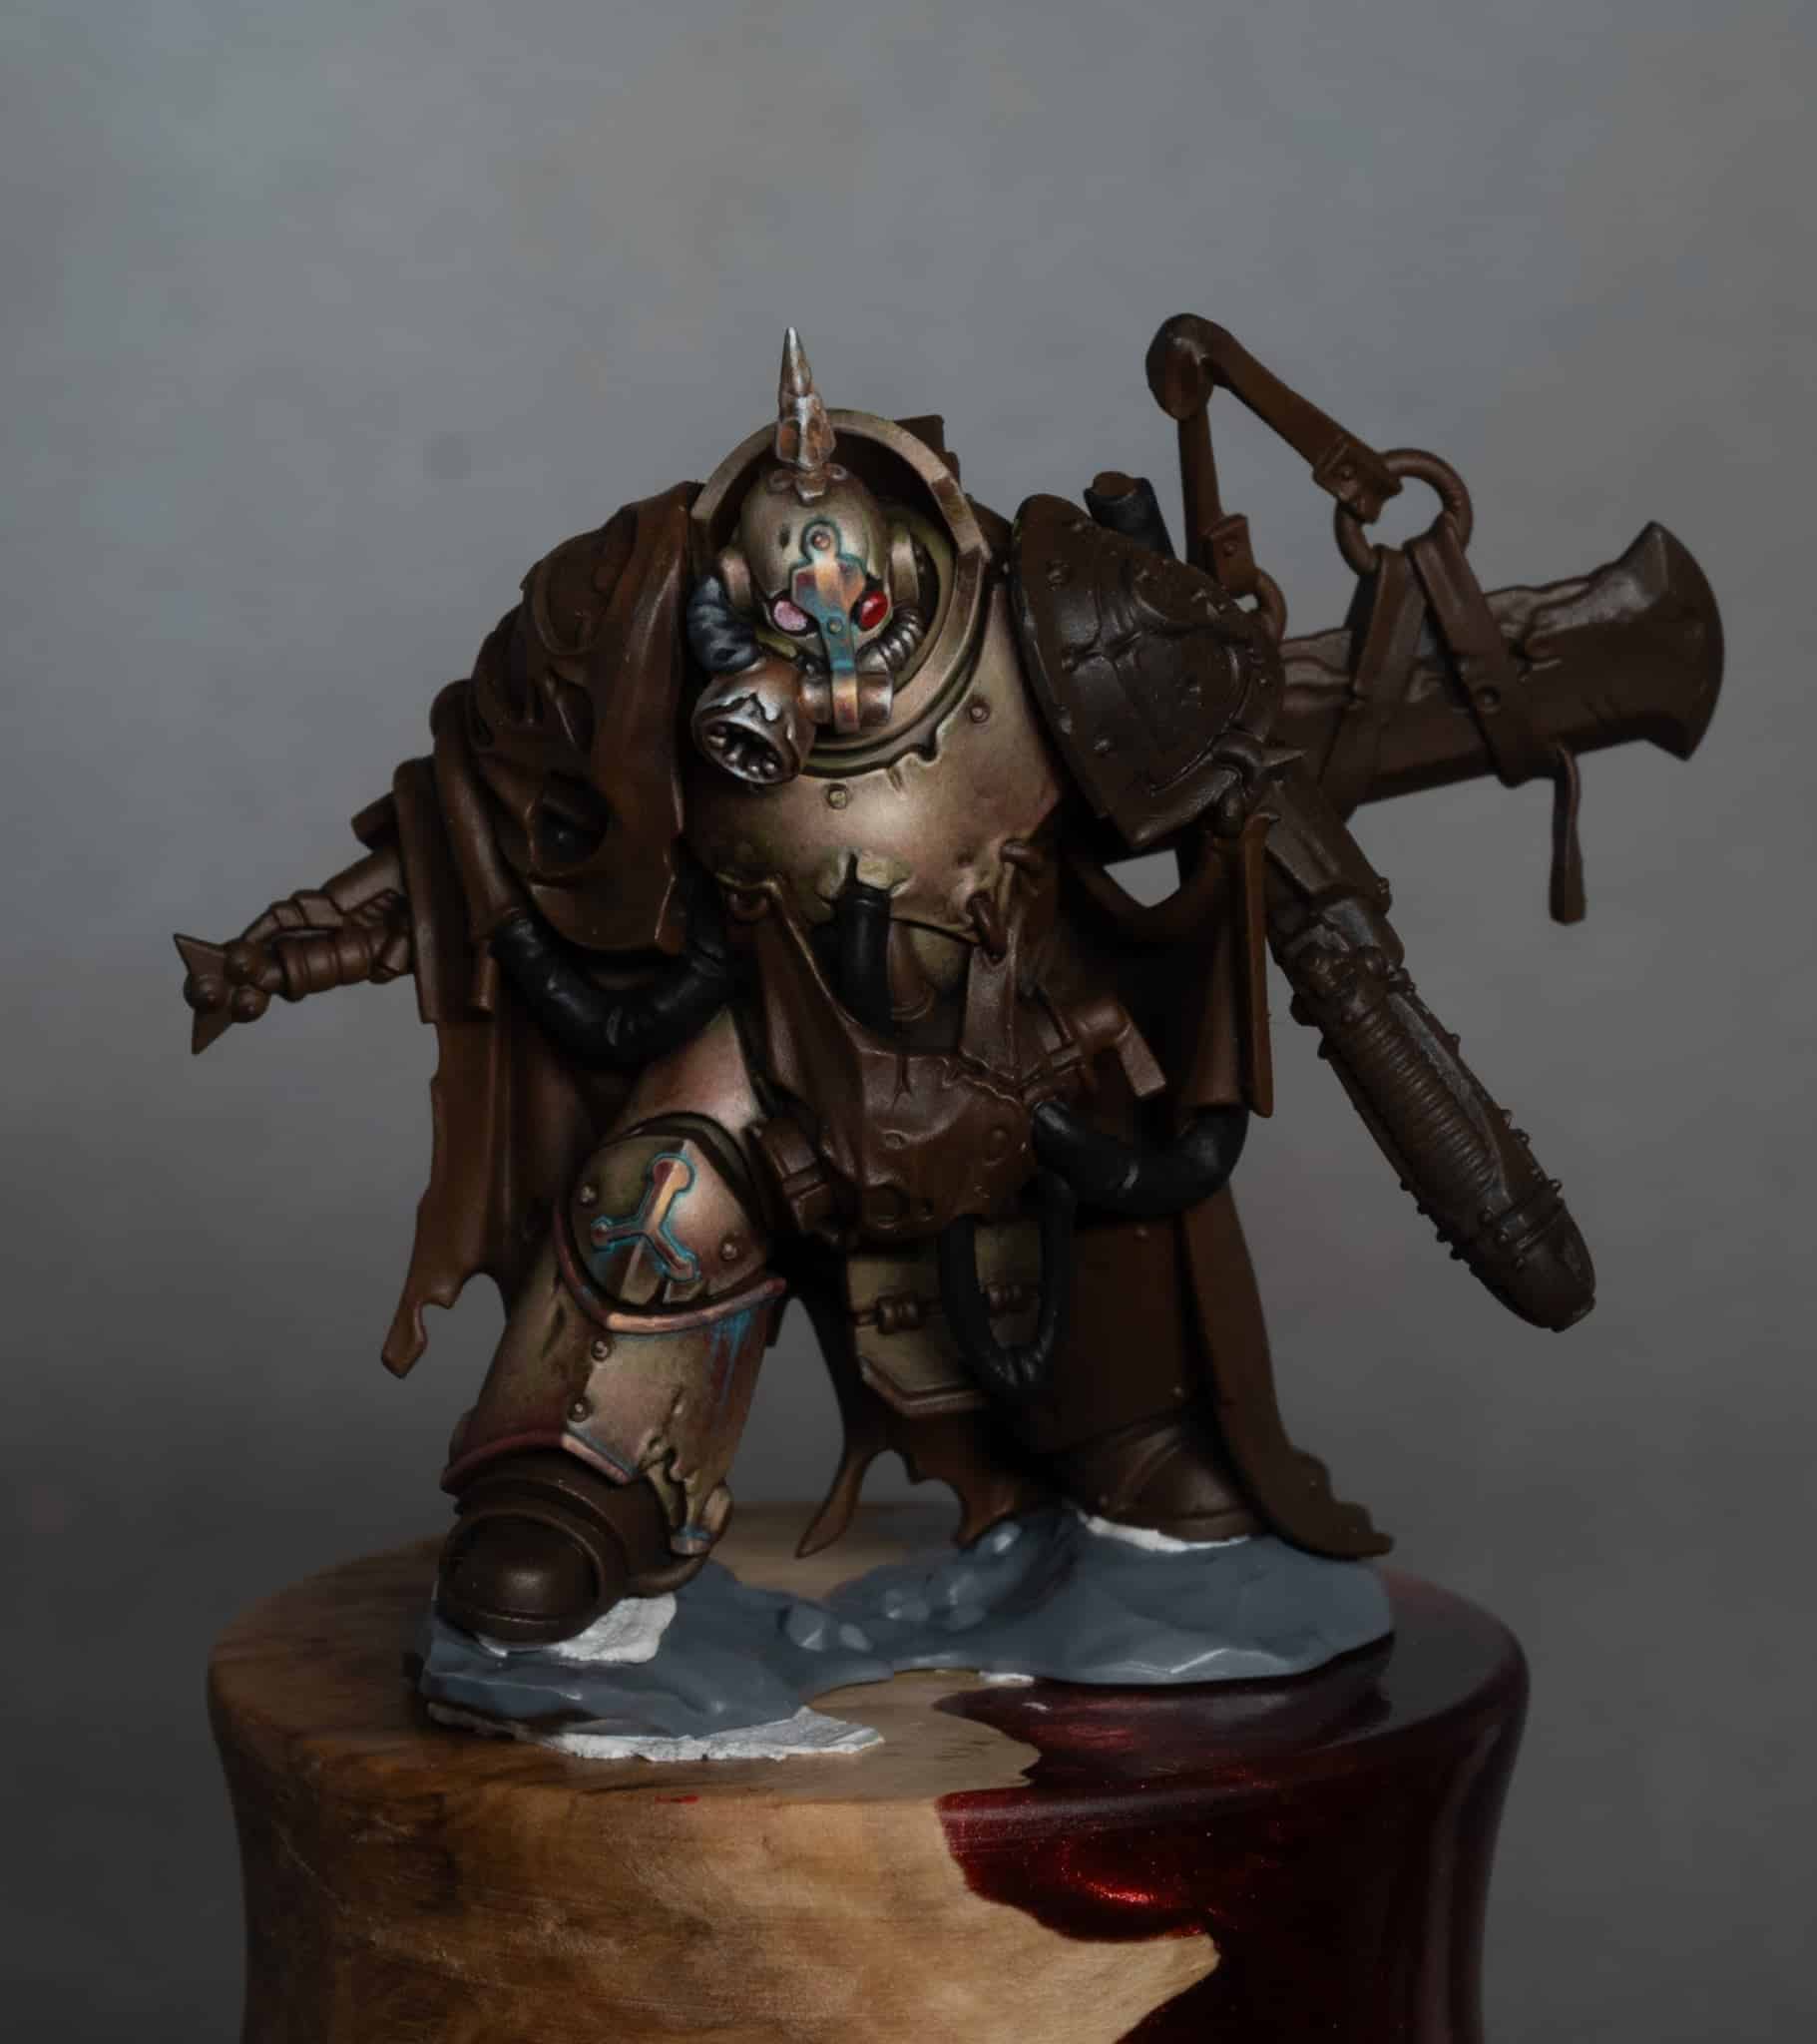
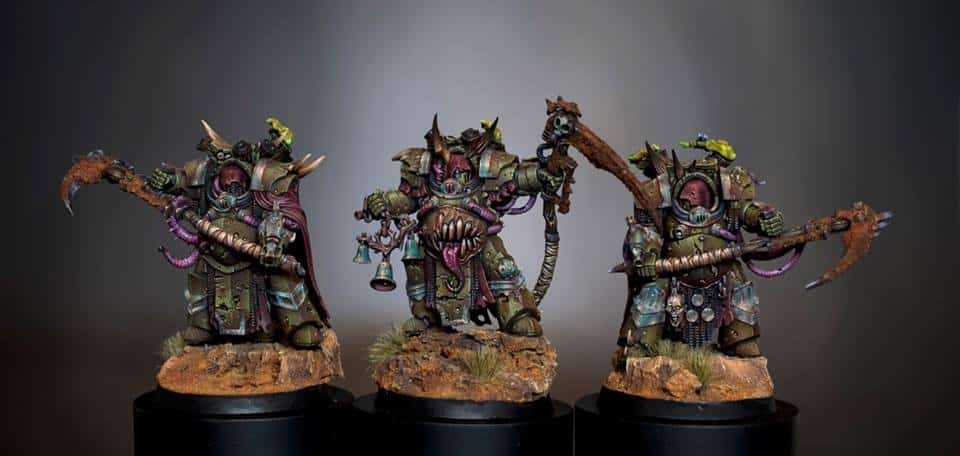
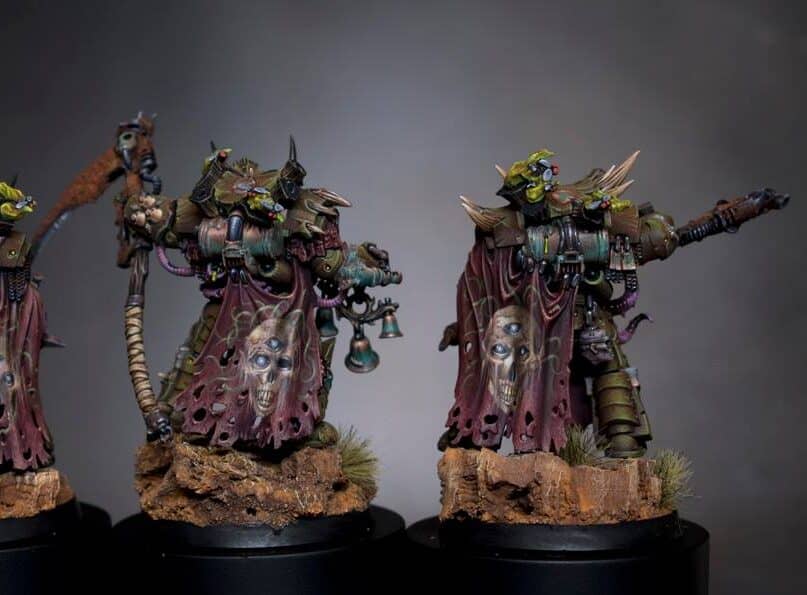
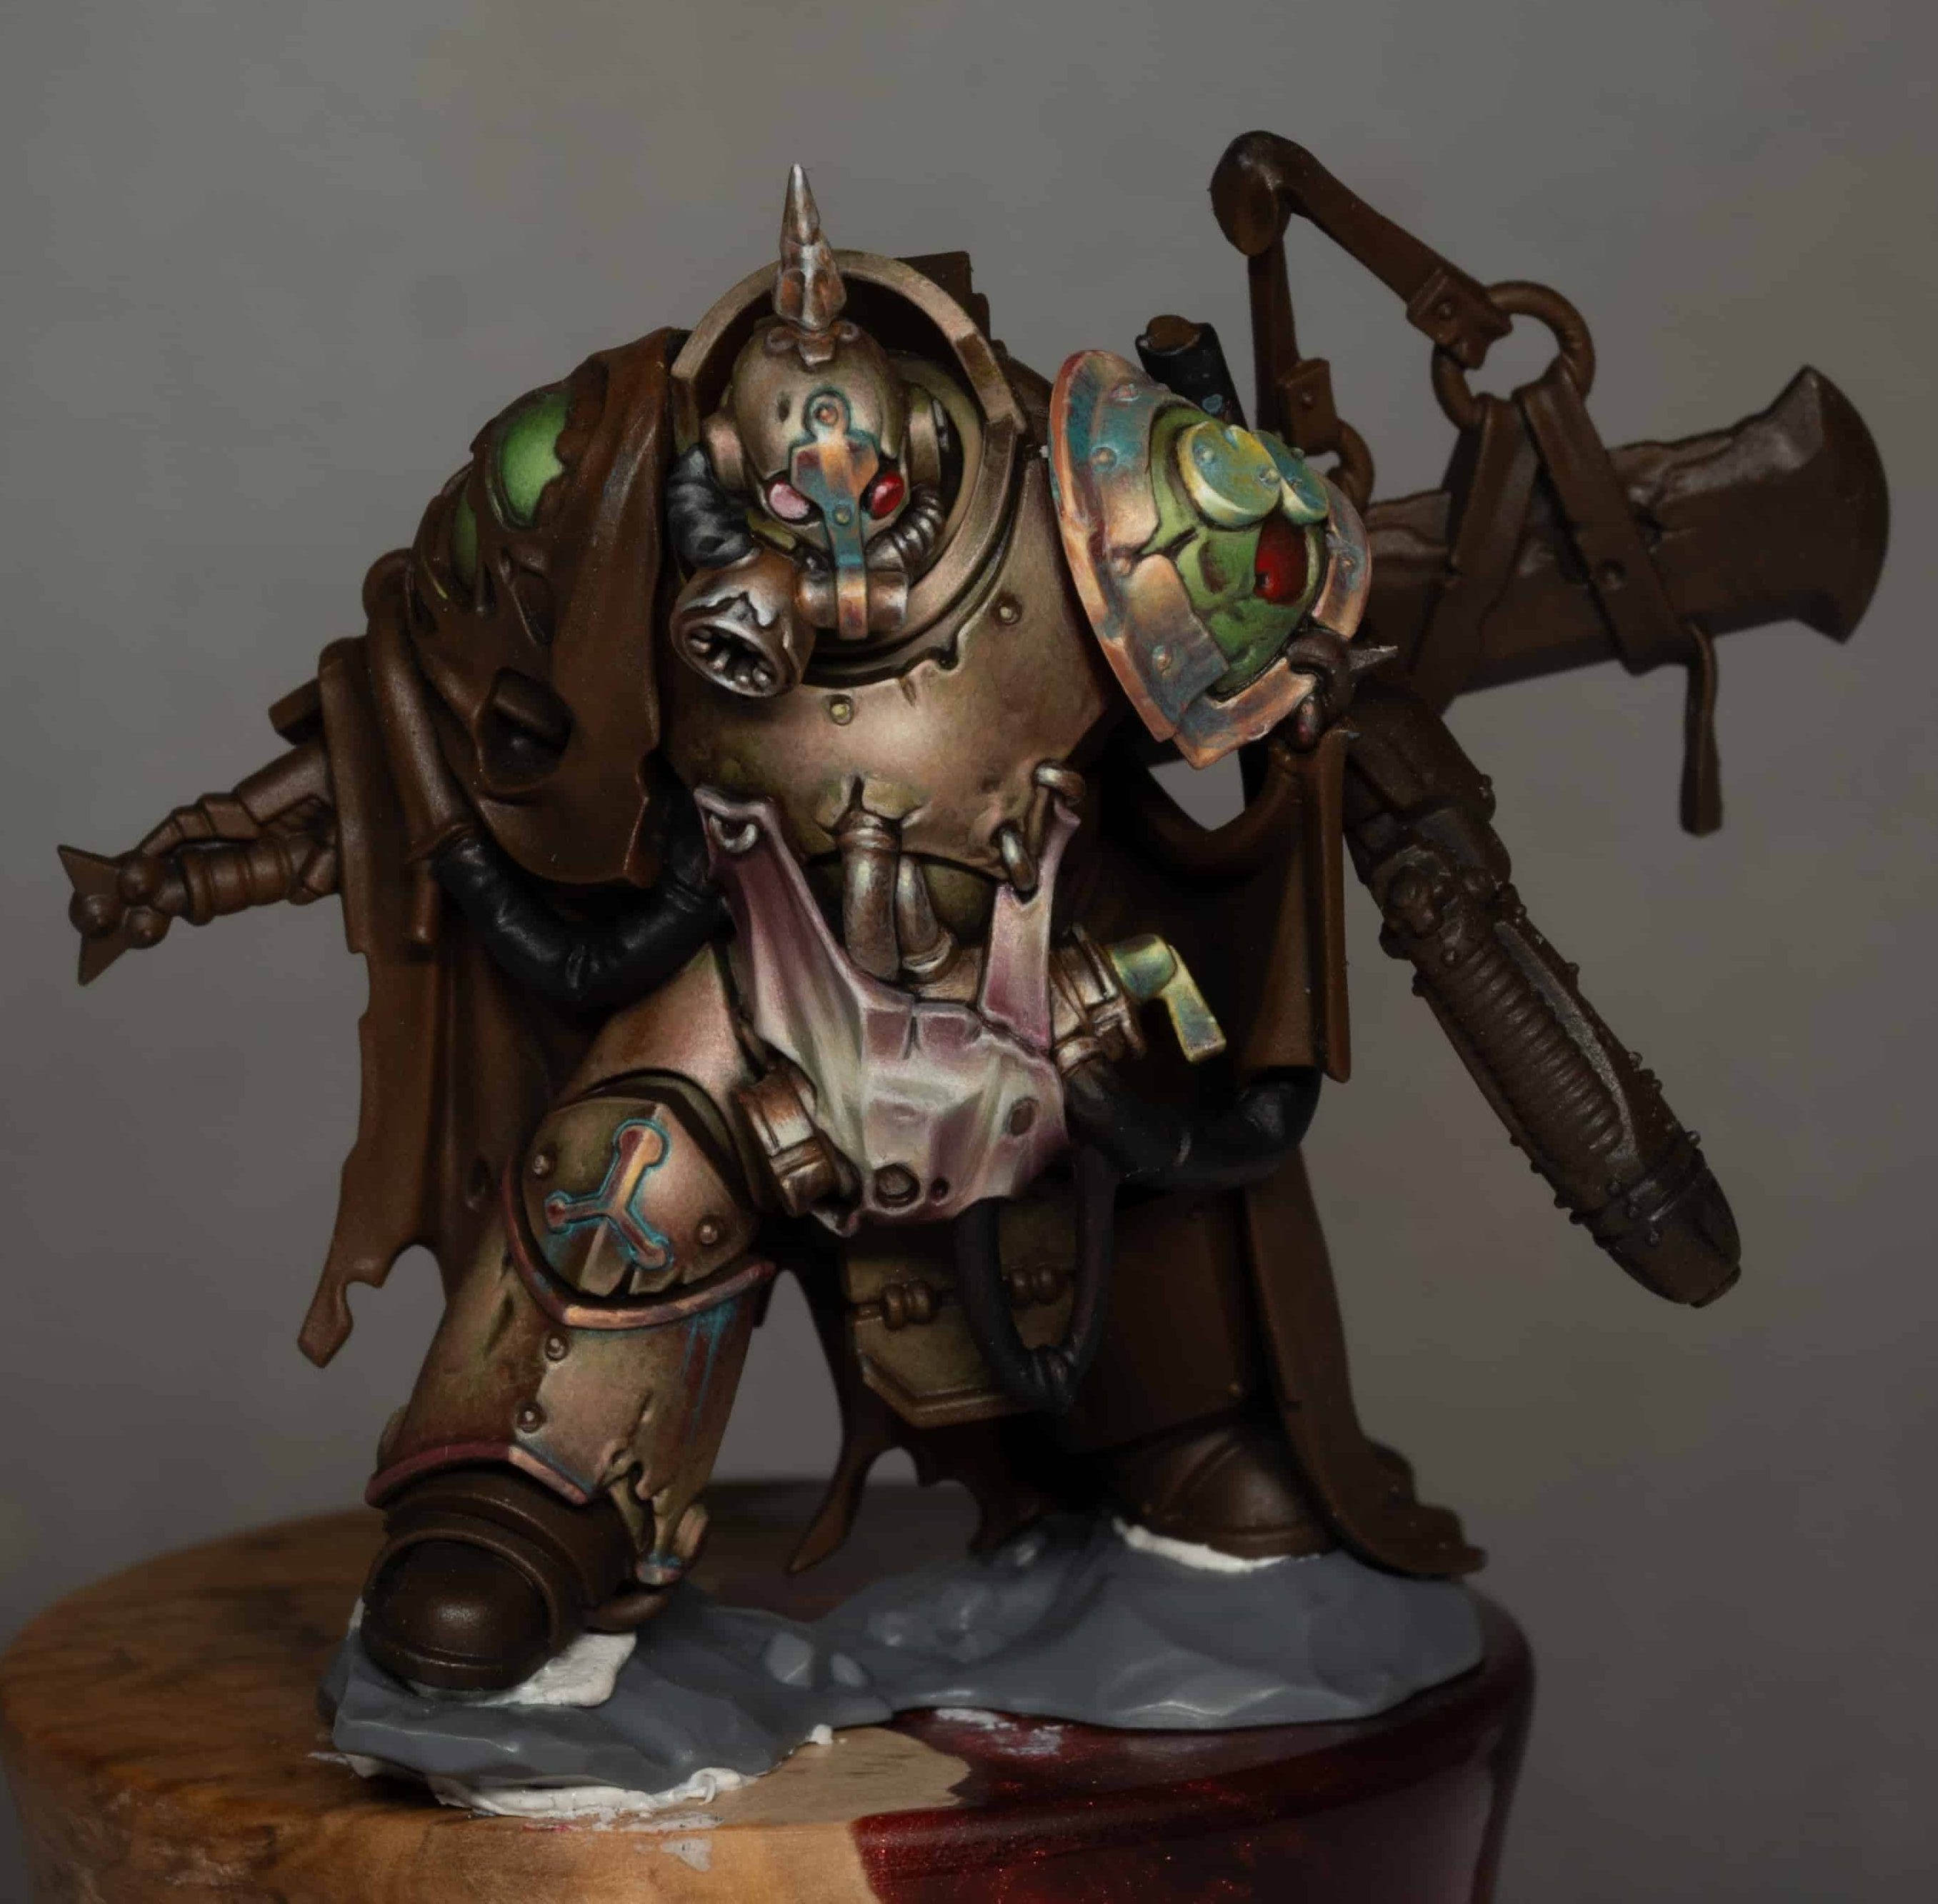
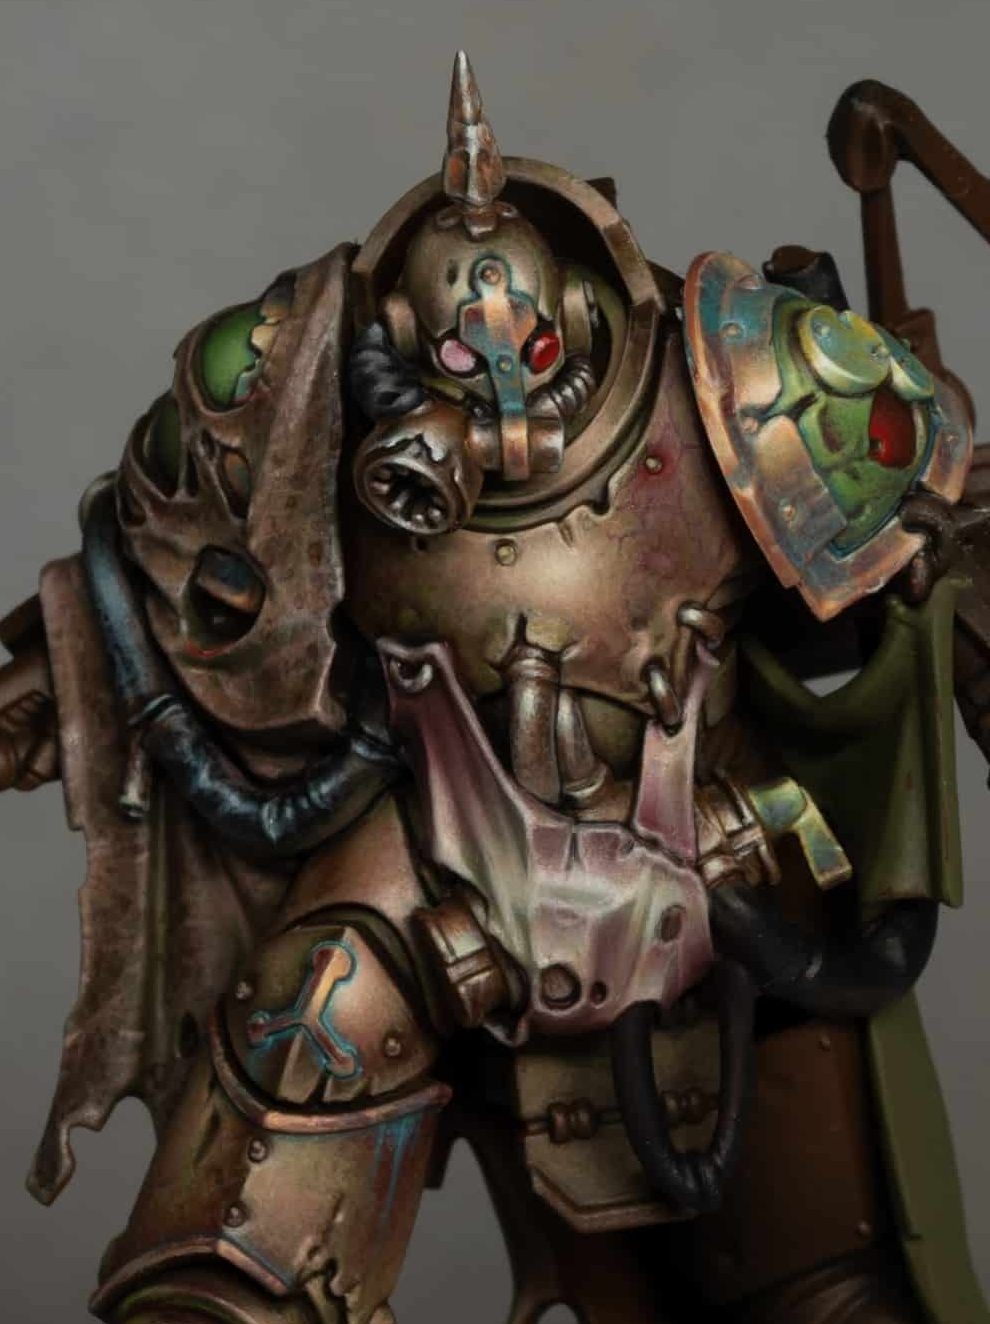
My latest video is How to Paint Nurgle Stained Leather on the Lord of Poxes! In this deep-dive, we’re zooming in on painting leather the right kind of wrong: flayed, crusty, dried-out, and gross, but still painterly. Whether it’s a pouch, a binding, or a rotted belt, this method gives it depth, warmth, and that Nurgle-appropriate level of decay.
Video: How to Paint Nurgle Stained Leather on the Lord of Poxes!
Paints You’ll Need
Games Workshop
- Mournfang Brown
- Cadian Fleshtone
AK Interactive
- Golden Olive
- Ice Yellow
- White
- Burnt Red
- Grey Green
Brushes and Tools
- A good-sized brush with a strong tip (I used Artis Opus Size 4)
- Optional: small detail brush for edge texture
- Palette for mixing tones and thinning glazes
- Glazing medium if you prefer smoother transitions
The Approach
This isn’t leather like you’d paint on an Imperial Guard boot. This is Nurgle leather. It’s been there for centuries, possibly made of something sentient, and it needs to feel:
- Cracked
- Dry
- Alive… but just barely
We’re not blending so much as breaking up surfaces. Think of it as impressionistic grime.
Step-by-Step: Painting Cracked Leather
1. Basecoat
Mix Mournfang Brown + Golden Olive (1:1)
- This gives a warm, greenish-brown base that already feels unhealthy.
- Apply neatly across all leather areas: straps, pouch, bindings.
- You want good opacity here—use two thin coats if needed.
2. Establish Texture with Midtones
Add Cadian Fleshtone into your base mix
- Start layering this onto raised sections with a soft stippling motion. Don’t aim for full coverage—think patchy, cracked weathering.
- Use the side of your brush or a light tapping motion.
Tip: Let the direction of the brush follow the grain of the leather. Horizontal for belts, vertical for pouches, curved for bindings.
3. Define Cracks and Edges
Add Ice Yellow to your mix for edge definition
- Apply thin, broken lines along the edges of straps and across surface ridges.
- Vary the pressure—light flicks work better than steady lines.
Optional: Add tiny dots and “crack flecks” on pouches and strap centres using your detail brush and a lighter tone. You’re simulating that stretched, dried-out cracking you get on untreated hide.
4. Punch in the Highlights
Highlight with Ice Yellow + White (2:1)
- These are for the most exposed spots: the top edge of a belt, corners of pouches, raised folds.
- Keep the placement tight and the lines broken. Full outlines kill the effect—go for interrupted flicks and partial edges.
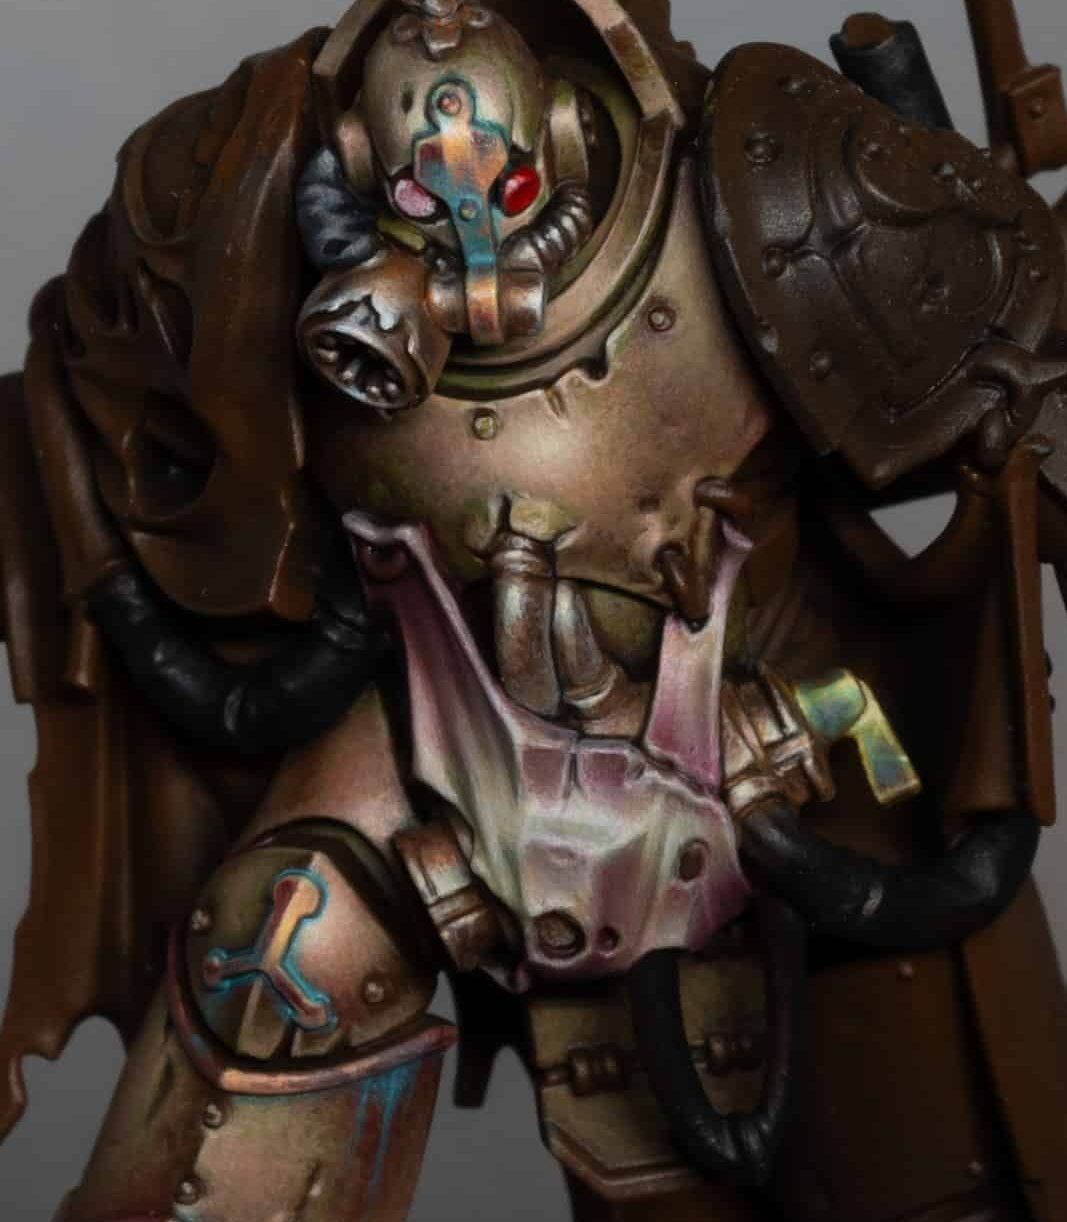
5. Warm Up the Shadows
Glaze Burnt Red into the recesses and undersides
- This adds life and heat—a sickly undertone that works brilliantly against the greeny base.
- Let it pool in strap overlaps, folds, or under fastenings.
Pro Tip: Don’t blend this out fully. A bit of red pooling adds narrative and that nice fleshy undertone.
6. Desaturate and Foul It Up
Thin Grey Green and glaze over some areas
- This kills the warmth and adds that mildewed, necrotic feel.
- Use this sparingly over larger areas that feel too warm or tidy.
- You can glaze to instantly tone it down and age it up.
7. Optional Final Touch – Dried Edge Crust
Take your highlight mix (Ice Yellow + White) and lightly drybrush or stipple around the very outer edges of leather surfaces.
- Use a near-dry brush.
- Focus on strap ends, corners of the pouch, or cracked surfaces.
- This gives a flaky, crusted effect like salt or rot crust.
Final Tips
- More broken than blended – let your brush marks show. They help with texture.
- Don’t unify your colours too much. A little warmth here, a little mildew there—it makes it feel real.
- Paint like the leather smells. If it feels like you wouldn’t want to touch it, you’re on the right track.
Videos Not Showing?
To view any of my paid tutorials, you need to be a member of the website – please click below to log in or join the site.


Not sure about joining just yet? Check out my Youtube for all my free tutorials or sign up as a free “friend” member on this site and visit the free videos page!
If you’d prefer to support me on Patreon, please visit: https://www.patreon.com/RichardGray