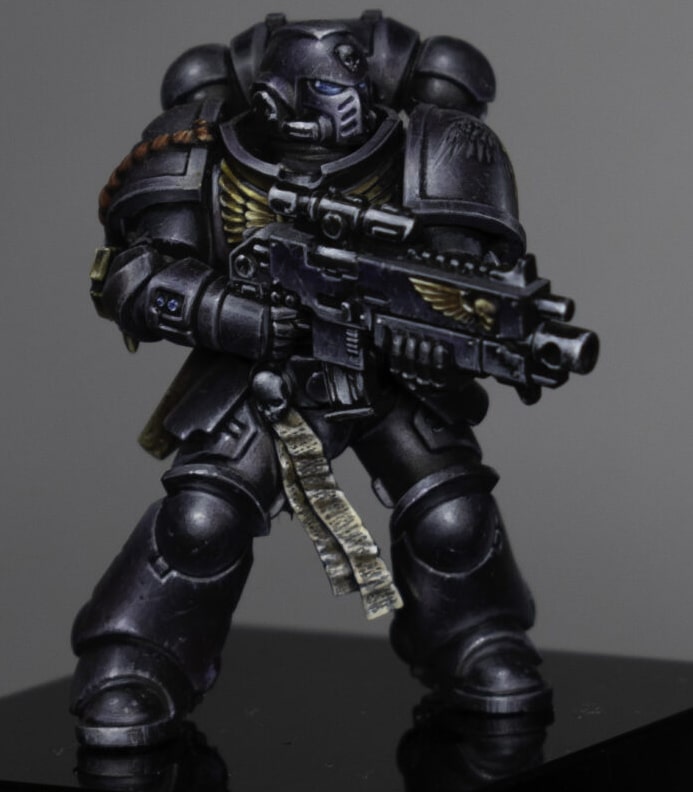
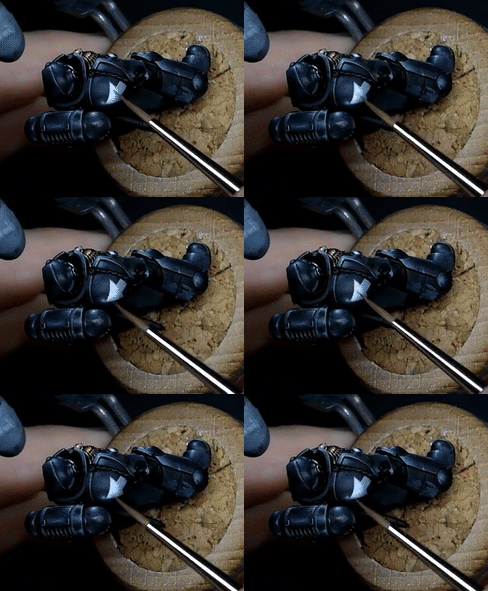
Two video tutorials on how to paint Raven Guard Freehand on the shoulders of a black Primaris Marine, with step by step guide and all materials and paints needed.
Video: How to Paint Raven Guard Freehand – Shoulder Pad Freehand (bird skull and wings)
Materials Needed
- Games Workshop paints: Balor Brown, Ushabti Bone
- Vallejo paints: German Grey, Neutral Grey, Heavy Bluegrey
- Fine detail brushes for the intricate work (I use the Artist Opus range).
- A wet palette to keep your paints thinned and workable
- A Space Marine model with a shoulder pad primed and base coated
Step by Step Guide to The Raven Skull Freehand
Step 1: Base Sketch – Start with a rough sketch of the raven skull in the centre of the shoulder pad using Balor Brown. Aim for an upside-down teardrop shape for the skull, keeping the paint light and not worrying about solid colour or precise shape at this stage.
Step 2: Highlighting Background – Before detailing the freehand, ensure the shoulder pad is highlighted properly. This includes spot highlights and broader highlights to emulate light reflection. These will later integrate with the highlights on the freehand design.
Step 3: Painting the Wings – Using Neutral Grey by Vallejo, paint the rough shape of the wings flaring from the sides of the skull. The wings should be asymmetrical but balanced, with feathers ruffling outward. Utilize German Grey to add depth and shading, creating a transition between the colours and the black of the armour.
Step 4: Detailing the Skull – Refine the raven skull, paying special attention to its beak and eye sockets. Use German Grey to outline and add depth, ensuring the skull retains its distinct shape against the black armour. For the tip of the beak, maintain a dark but slightly contrasted tone to distinguish it from the background.
Step 5: Feather Texture – Gradually build up the feather texture on the wings using a combination of Neutral Grey and German Grey. Paint the feathers with a fine brush, starting from the base of the wing and working outwards, increasing in size. This creates a natural feathered effect.
Step 6: Final Highlights and Details – Use Ushabti Bone to add highlights to the skull, focusing on the top edges and the eye sockets to enhance its dimensional appearance. Apply Heavy Bluegrey for the final highlights on the wings, blending them into the armour’s highlights for a cohesive look.
Step 7: Finishing Touches – Review the entire piece, adding final adjustments to the skull and wings as necessary. You may need to retouch some areas to ensure a smooth gradient and correct any overspill. The aim is to have a clear, recognisable raven symbol that integrates well with the armour’s existing highlights and shadows.
Step 8: Sealing the Work – Once you’re satisfied with the painting, allow it to dry thoroughly. Consider sealing the model with a matte varnish to protect the freehand work and the model’s overall finish.
Video: How to Paint Raven Guard Freehand – Arrow Shoulder Pad
Materials Needed
- Vallejo Heavy Greyblue (Celestra Grey equivalent)
- Vallejo German Grey (akin to a mixture of Skavenblight Dinge and black)
- P3 Morrow White (similar to Ceramite White from Games Workshop)
- Fine detail brushes
- A wet palette to keep your paints workable
Preparation
Ensure the shoulder pad is base coated and highlighted beforehand. This foundational work is crucial as it sets the stage for the tactical arrow, allowing the highlights to seamlessly integrate with the overall design.
Step-by-Step Guide to the Arrow Shoulderpad
Sketching the Arrow – Begin by painting a central line down the middle of the shoulder pad with Vallejo Heavy Greyblue. This line acts as a guide, ensuring symmetry in your design.
Expand outwards from this line to sketch the arrow’s shape. Focus on achieving neat, straight edges, but don’t worry about opacity at this stage.
Refining the Shape – Adjust the width and angles of the arrow to fill the shoulder pad appropriately. Work from the centre outwards to maintain symmetry.
If mistakes occur, remember you can incorporate chips and scratches into the arrow later to mask any imperfections.
Painting Over Obstacles – Take care when painting near the rope or other raised details on the shoulder pad. It may be necessary to rotate the model for better brush access and to prevent paint from touching these areas inadvertently.
Achieving a Smooth Base – Apply additional layers of Heavy Greyblue to solidify the base of the arrow. Aim for a smooth, opaque finish, paying extra attention to the edges for sharpness.
Adding Highlights – Use P3 Morrow White to highlight the top of the arrow, creating a gradient effect towards the base. This step requires patience and a steady hand to maintain clean lines and prevent the white from overwhelming the greyblue base.
Blending Techniques – Mix the Heavy Greyblue and Morrow White on your palette (or directly on the model) to create intermediate shades for blending. Use these mixed shades to smooth the transition from the white highlights to the greyblue base.
Glazing for Smoothness – With Morrow White, apply thin glazes towards the highlight areas to enhance the smooth gradient effect. This technique helps to soften any harsh lines between the white and greyblue.
Adding Battle Damage – Use Vallejo German Grey to add chips and scratches to the arrow, giving it a battle-worn look. Apply these marks sparingly and with precision to avoid detracting from the overall design.
Final Adjustments – Revisit the entire marking, making any necessary corrections or refinements. This may include tightening up the edges, enhancing the gradient, or adding more battle damage for realism.
Looking to paint the entire marine? Check all of the tutorials for him, here:

Black Marine
A set of video tutorials on how I painted this black marine, including full armour guide, freehand tips, subtle weathering, leather and nmm gold detailing.
If you don’t have an account, please sign up here! The website currently has over 350 video tutorials with steps and tips, plus a selection of PDFs. If you are not sure about joining, you can explore my free videos with a free membership, or take the plunge and become a full subscriber for full access.
If you’d prefer to support me on Patreon, please visit: https://www.patreon.com/RichardGray


