


In this video and step-by-step guide, I’ll walk you through the process of building and preparing a Grey Seer miniature for painting. We’ll cover everything from essential tools and materials to step-by-step assembly instructions, ensuring you achieve a flawless finish on your model.
Video: How to Build a Skaventide Grey Seer
How to Build a Skaventide Grey Seer – Step by Step
Gather Your Tools: You’ll need Godhand clippers (or similar), a scalpel, Tamiya Extra Thin Cement, and sprue glue (Tamiya Extra Thin Cement mixed with plastic sprue bits).
Clean Your Model: Carefully clip out all the model pieces. Use your scalpel to scrape away any mould lines, always angling the blade away from the direction you’re moving to avoid cutting into the model. Take your time with this step.
Remove Push-Fit Connections: Even though the model is push-fit, I cut off the connection points to avoid gaps and make painting easier. This makes for a cleaner fit.
Assembly:
Dry Fit: Before gluing, dry fit the pieces together to make sure everything lines up correctly.
Glue Main Body: Apply a small amount of Tamiya Extra Thin Cement to the connection points and join the pieces together. Use gentle pressure to ensure a tight fit.
Leave the Head: Don’t glue the head yet, as this will make painting easier.
Gap Filling:
Identify Gaps: Look for any gaps or seams in the model where the pieces join.
Apply Sprue Glue: Carefully apply sprue glue to the gaps, being careful not to get any on areas you don’t want to fill. Use the tip of your scalpel to guide the glue and remove any excess.
What’s Sprue Glue? Follow this link to learn more.
Smooth Out: Once the sprue glue is dry, use a fine file or sandpaper to smooth out any rough edges.
Your Grey Seer model is now ready for priming and painting!
Additional Tips:
- Work in a well-ventilated area as the glues and paints can be toxic.
- If you accidentally get sprue glue somewhere you don’t want it, you can try to quickly remove it with extra thin cement.
- Take your time and don’t rush the process. The more care you take in the preparation stages, the better the final result will be.
- If you’re painting a whole army, consider cutting some corners to save time, but still aim for a neat and tidy finish.
Now you’ve learnt How to Build a Skaventide Grey Seer, why not get started painting him?
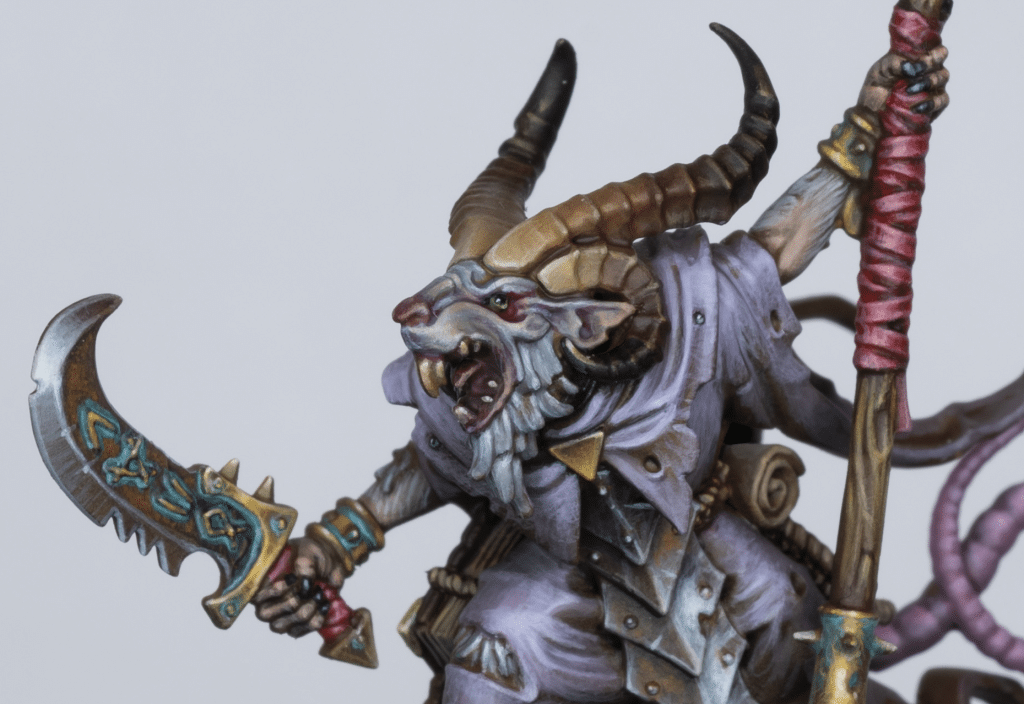
How to Paint a Skaventide Grey Seer
My series of video tutorials on How to Paint a Skaventide Grey Seer!
If you don’t have an account here on my website, please sign up here! I have over 350 video tutorials with steps and tips, plus a selection of PDFs. If you are not sure about joining, you can explore my free videos with a free membership, or take the plunge and become a full subscriber for full access.


If you’d prefer to support me on Patreon, please visit: https://www.patreon.com/RichardGray